
Last updated November 15, 2026
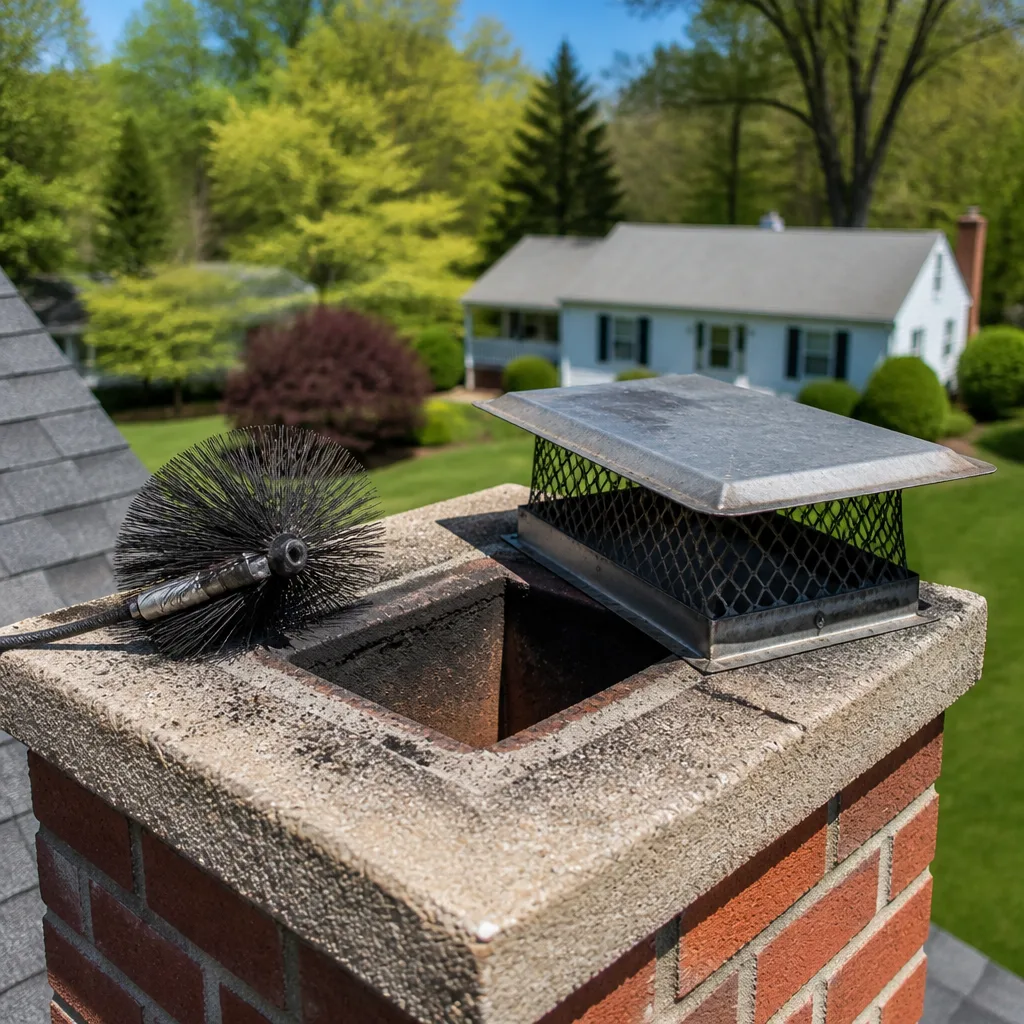 Sweep & inspection
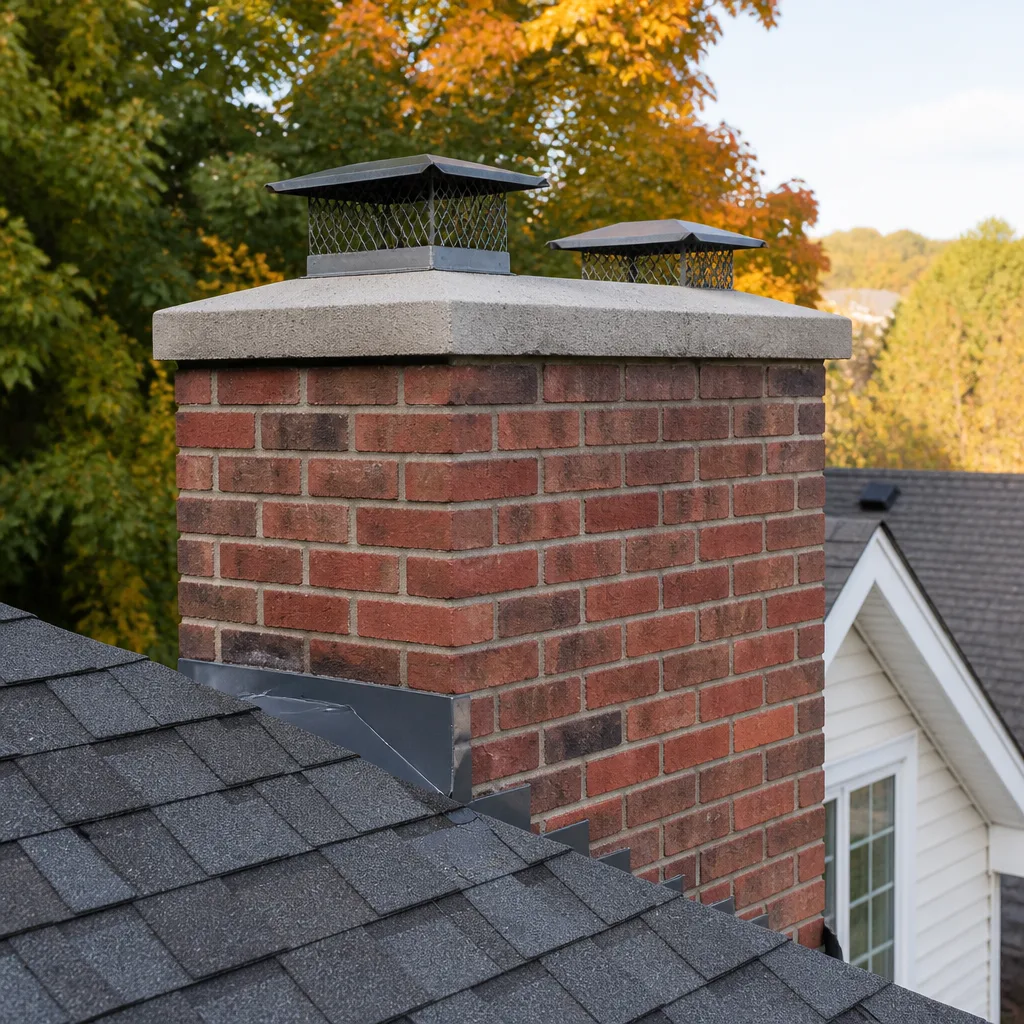 Caps & crowns
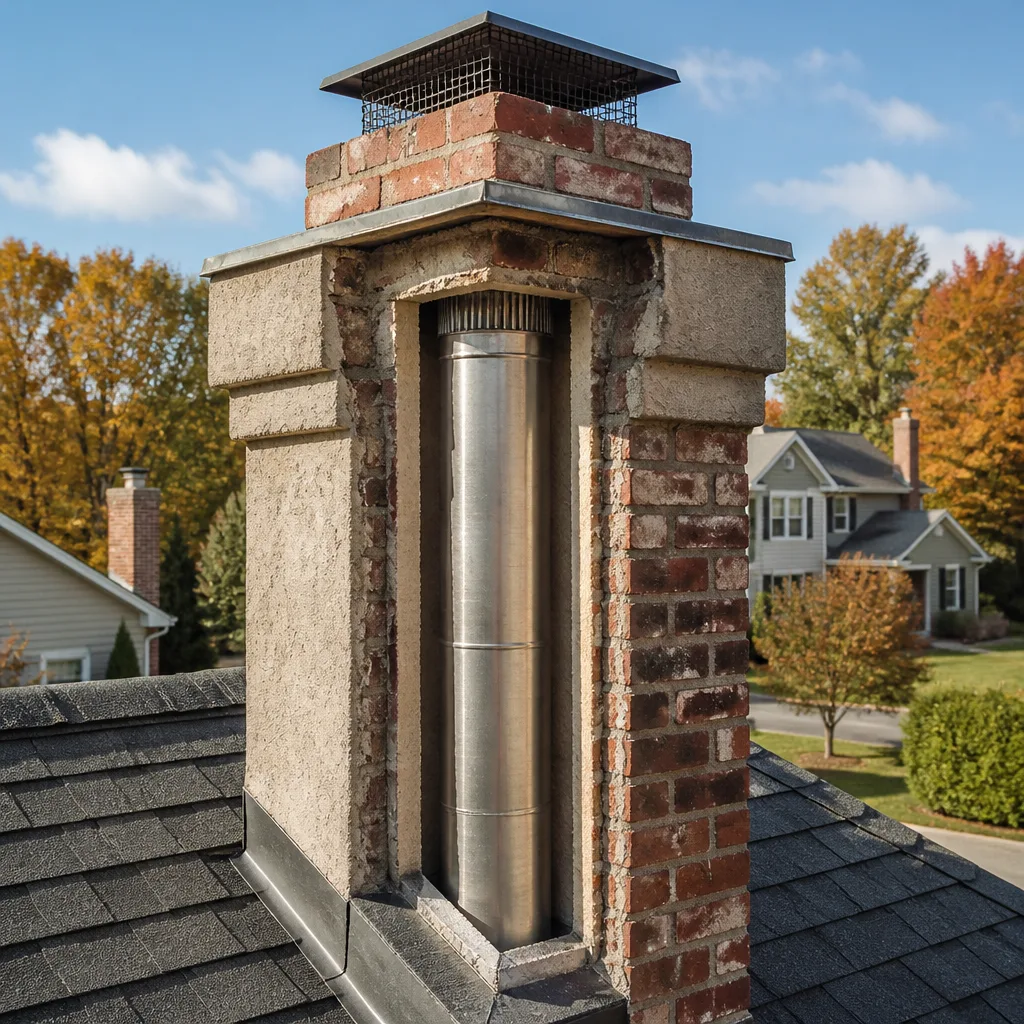 Flue relining
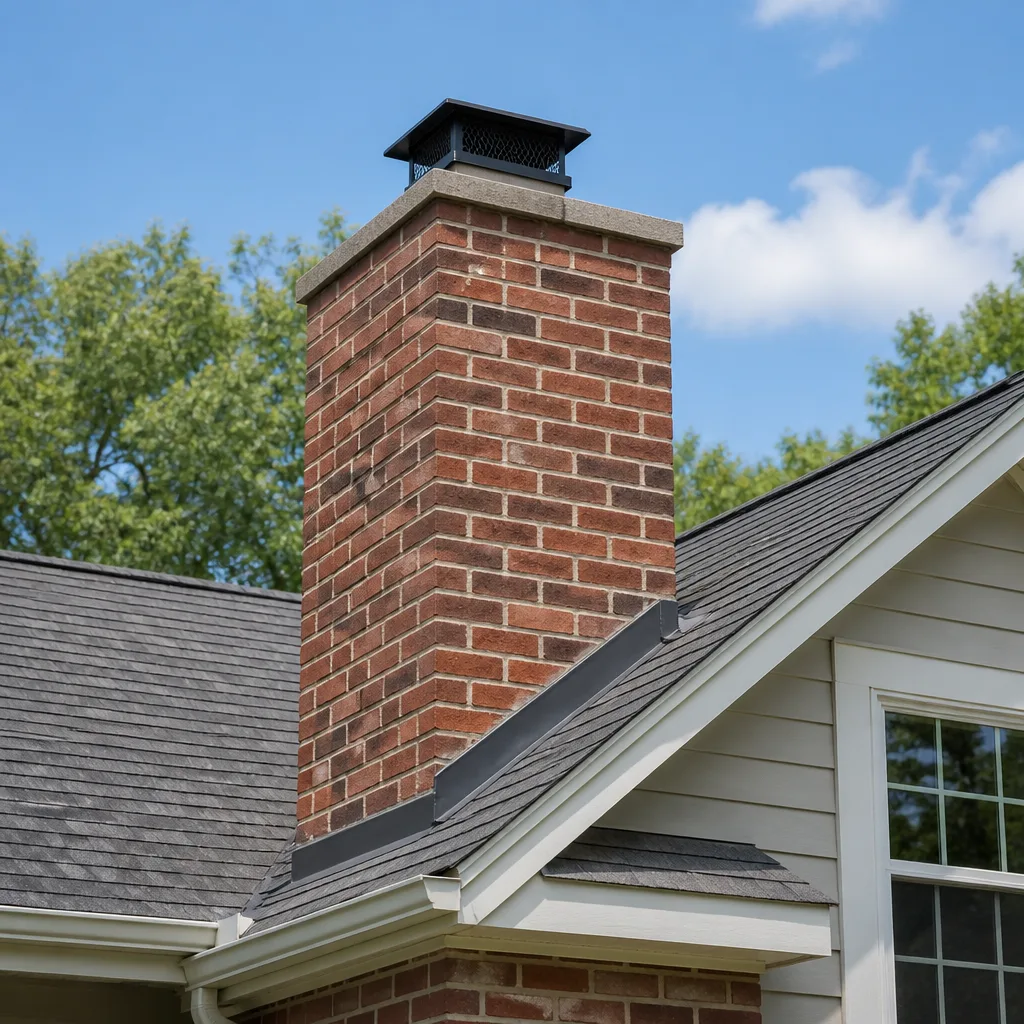 Masonry repair
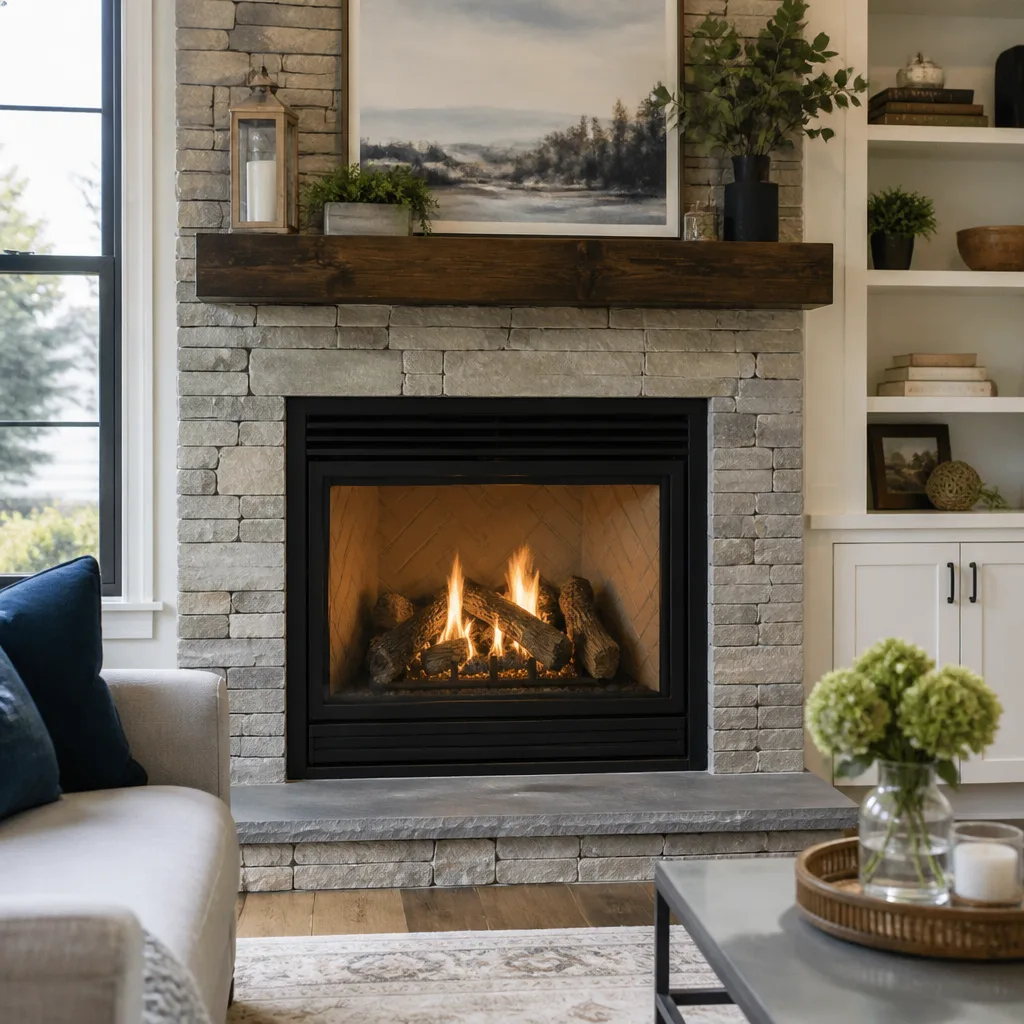 Gas fireplace service
Level 1 sweep and inspection to the NFPA 211 annual standard - flue, crown, cap, and flashing checked and photographed
Chimney sweep logs do not sweep chimneys. They loosen some creosote - which then falls where a brush and vacuum still have to collect it.
Chimney Sweep Maintenance Checklist for St. George Homeowners
The checklist in your fireplace manual was written for a home in the mid-Atlantic. It doesn’t account for 115°F summer heat baking your chimney crown for four months before you light the first fire of the season. In St. George, the failure sequence is backwards from the national script: mortar joints shrink and crack under thermal cycling long before creosote becomes the headline problem. That distinction changes the order of this list. What follows is a maintenance calendar built around how chimneys actually age in Washington County’s climate, what you can check yourself from the firebox floor, and when to bring in a professional.
Quick Answer
A sound chimney maintenance routine in St. George means three checks you do yourself (visual inspection from the firebox, a creosote gauge test, a damper and cap glance), one professional inspection and sweep per year timed to late summer or early fall, and a second look at dryer vent condition at the same time. The checklist below breaks that into pre-season, in-season, and post-season tasks, with attention to the mortar and crown damage that desert heat makes unusually common.
Styles & brands we work with
- Sweep & inspection
- Caps & crowns
- Flue relining
- Masonry repair
- Gas fireplace service
Table of Contents
- Why St. George Chimneys Age Differently
- Pre-Season Checklist: Before You Light the First Fire
- Monthly In-Season Visual Checks (No Tools Required)
- Post-Burn-Season Tasks for the Hot Months
- Dryer Vent Inspection: The Checklist Most Homeowners Skip
- How Often Does Your Chimney Actually Need a Sweep?
- Documenting Condition Year Over Year
- When Cleaning Turns Into Repair: What to Fix and What Can Wait
Why St. George Chimneys Age Differently
St. George is high desert. Summer afternoons climb past 110°F, winter mornings drop into the 20s and 30s, and the swing between them stresses masonry in a way that coastal or northern climates don’t reproduce. Brick and mortar expand and contract at slightly different rates. Over season after season of those swings, the mortar between bricks withholds the movement less gracefully than the brick itself, and fine hairline cracks open at the joints. Once water finds those cracks, a hard freeze splits them wider.
That’s why the first thing that fails on a typical St. George chimney is rarely the liner. It’s the crown at the top and the mortar joints below it. A chimney crown is the concrete slab capping the structure, designed to shed water away from the flue. Four months of intense sun, then a cold snap, then rain, then another freeze, is a hard life for a thin concrete cap. Many of the crowns we inspect here show spiderweb cracking, a crumbling edge, or a visible gap where the crown meets the flue tile.
Which means the priority order in a national magazine checklist – creosote first, everything else later – gets it backwards for this climate. Here’s the order that actually reflects risk in St. George:
- Crown and flashing condition – the top of the chimney is the first point of water entry, and water is the slow killer of masonry.
- Mortar joint integrity – especially in the chimney’s above-roof section, where the temperature swings are widest.
- Flue liner condition – check it every year, but expect the liner to outlast the crown here.
- Creosote buildup – still important, but in a dry climate with moderate wood use, glaze formation is less aggressive than in humid regions.
- Cap and spark arrestor – a missing cap lets rain and animals in, and a nesting bird will close a flue faster than you’d believe.
If you’ve recently bought an older home in St. George, this ordering matters even more. Older chimneys in the neighborhoods near downtown were built during eras with different masonry recipes and thinner crowns. A pre-season inspection that skips the crown is not a complete inspection.
Pre-Season Checklist: Before You Light the First Fire
Late summer and early fall is the right window for the annual sweep and inspection in St. George, partly because the work needs a dry roof and partly because you’re still weeks away from needing the fireplace. Here’s the full list we work through, in the order we do it:
- Book the professional sweep and inspection. A Level 2 inspection (with a camera) is the standard for most homes, and it’s the one that catches liner cracks above the smoke shelf that a flashlight can’t show. Schedule it before burning season, not after the first cold weekend.
- Check the crown from the ground if you can see it. Look for cracks, a crumbling edge, or a visible gap around the flue. If you can’t see it safely with binoculars, don’t climb up – a steep roof is exactly the place where a homeowner gets hurt. Ask the sweep to photograph the crown and show you the images.
- Look at the mortar joints below the roofline. Hairline cracks are normal. Missing chunks of mortar, bricks spalling (flaking on the face), or white mineral staining are signs of water entry that want attention before winter.
- Open the damper and test it. It should open fully and close flush. A damper that sticks open lets air-conditioned air escape all summer and lets cold air in during the winter.
- Check the firebox for loose brick or deteriorated mortar. If your firebox has visible gaps between the bricks, don’t light a fire until a professional looks at it – this is a fire-containment issue, not a cosmetic one.
- Confirm the cap is present and intact. A chimney without a cap is an open hole to weather and wildlife.
- Test your carbon monoxide detector. A chimney is one of several sources of carbon monoxide in a home, and this is the cheapest safety step on the list.
The professional sweep covers the parts of this you can’t safely do yourself – camera inspection of the flue, verification of liner condition, and confirmation of whether the creosote load needs more than a standard cleaning. If you’ve got questions about what a proper sweep includes, our guide to scheduling a chimney sweep walks through what gets checked and why the camera matters.
Monthly In-Season Visual Checks (No Tools Required)
During the burn season, ten minutes once a month from the firebox floor will catch most developing problems early. You don’t need a ladder or a flashlight-and-mirror rig for these. You just need to look with purpose.
- Creosote appearance. Shine a light up the flue from the firebox. Black, flaky soot is normal and easy to sweep. Shiny, glassy, tar-like deposits on the liner wall are a warning sign – that’s glazed creosote, which ignites at a lower temperature than the flaky kind and needs professional removal.
- Odor when the fireplace isn’t burning. A strong smoky smell on a warm day usually means the flue is bringing air down, which can point to a clogged flue, a missing cap, or negative pressure in the house.
- Smoke backdraft. Smoke rolling into the room instead of up the flue can mean a partial blockage, a damper that isn’t fully open, or poor draft.
- Draft strength. Hold a lit match or a piece of incense near the open damper. The smoke should be pulled steadily up the flue. If it hovers or drifts into the room, something’s off.
- Damper movement. Open and close it a few times each season. Dampers seize from disuse and rust.
- Visible soot at the firebox edge. Fresh soot streaks at the top of the firebox opening, above the damper, mean the flue is depositing soot close to the top of the firebox – a sign that build-up is progressing.
- Water staining or efflorescence on the exterior. White, chalky stains on brick are salts drawn out by moisture moving through the masonry. It’s a slow problem, but one worth catching early.
- Smoke smell in other rooms. A chimney can pull air backward through a house under certain conditions, and that odor coming out of closets or the attic access means you want an inspection sooner rather than later.
None of these are DIY fixes. They’re indicators. Note anything that isn’t right, and share your notes with the sweep. A homeowner’s observations make a professional inspection faster and more accurate.
Post-Burn-Season Tasks for the Hot Months
When the last fire of the season is out, the chimney goes into its hardest stretch – four months or more of 100°F-plus heat on the exterior, with the interior flue cooling and warming daily. This is the part of the calendar most homeowners ignore, and it’s the part that determines how long your liner lasts.
What matters in the off-season:
- Get the flue inspected before the hot months begin. A professional sweep and camera inspection in late spring catches the creosote and the liner condition while the roof is still climbable and before summer heat locks everything down.
- Leave the damper closed when the fireplace is out of use. This keeps summer air from migrating up the flue and keeping the chimney interior cooler than it should be. It also blocks the smell of soot coming into the house on hot days.
- Check the crown again mid-summer. This is the season when a hairline crack in a crown turns into a chunk of missing concrete. If the crown looked marginal in the spring, get a second look from a professional before fall.
- Watch for efflorescence after monsoon storms. St. George gets summer rain in bursts. Water that hits the brick and gets absorbed shows as white staining a week or two later. That’s your cue to look closer at the mortar joints and crown.
- Clean out the firebox and ash pit. Ash left in the box holds moisture. Over a hot summer, that moisture moves into the firebox mortar, which is one of the reasons firebox mortar deteriorates faster in humid summers than the rest of the chimney’s interior.
- Don’t stack firewood against the chimney. Wood retains moisture, attracts insects, and blocks the airflow that helps brick dry.
- Look for smoke stain on the exterior at the top of the chimney. A stain around the flue tile or the crown means the flue is depositing soot from burning-season draft issues. That’s a sign to check the liner.
In St. George specifically, the summer is when masonry damage accelerates. A chimney that looked fine in March can show a new crack by September. That gap between spring and fall is why we recommend the post-season inspection happen early – it catches problems while there’s still time to fix them before the next burn season.
Dryer Vent Inspection: The Checklist Most Homeowners Skip
Here’s the part of a home-safety checklist people almost always forget: the dryer vent. Chimney checklists get followed. Dryer vents get skipped until something goes wrong, which is a strange gap, because a clogged dryer vent is one of the leading appliance-related fire causes in American homes. We handle dryer vent cleaning alongside chimney work for exactly this reason – it’s the same category of risk, just in a different part of the house.
The inspection cadence we recommend:
- Every 3-6 months, listen and look. Your dryer should dry a normal load in roughly the time it always has. If it suddenly takes two cycles to dry towels, that’s the most reliable early signal of a clogged vent.
- Every load, check the lint filter. This is the basic layer of prevention. A filter full of lint is the first restriction in the system.
- Once a year, inspect the duct run itself. Disconnect the dryer from the wall, or have a professional do it, and look inside the duct. A visible layer of lint coating the duct walls means the vent needs cleaning.
- Inspect the exterior vent flap. On the outside of the house, the flap should open freely when the dryer is running and close when it’s not. A stuck flap lets lint build up at the exterior outlet, and it also invites birds and insects in.
- Check the transition duct behind the dryer. The short flexible connection between the dryer and the wall duct is the most common point of failure. It should be smooth metal, not the flimsy white plastic foil type, and it should be as short as possible.
- Have a full cleaning done when the run is long or routed through walls. Duct runs with multiple elbows, long horizontal stretches, or hidden sections in ceilings are hard to inspect yourself and are the ones most likely to accumulate lint into a fire risk.
The reason we list dryer vents alongside chimney checks is simple. Both are fire-hazard venting systems in the same house, and both fail silently until the day they don’t. A homeowner who has a reliable chimney sweep on calendar for October should put the dryer vent on that same call.
How Often Does Your Chimney Actually Need a Sweep?
The common industry rule of thumb is an annual inspection for every chimney, with a sweep whenever creosote reaches about an eighth of an inch on the flue walls. That rule is a starting point, not a one-size answer for St. George. Here’s how to think about frequency based on how you actually use the fireplace.
- Occasional use – a few fires a season. An annual inspection is enough. A sweep every year may not be necessary, but the inspection still is, because the liner and crown need to be checked regardless of how much you burn.
- Regular use – most winter evenings and weekends. An annual sweep plus a mid-season flue check is the standard here. In a dry climate, the burn tends to be cleaner than in humid areas, which means a proper sweep usually holds for a full season.
- Frequent use – a wood stove or a fireplace used as a primary heat source. Sweeping twice a season, or once a season plus a mid-season inspection, is reasonable. Burning harder moves creosote and wood moisture into the flue faster, and a stove that runs hard needs more attention than a fireplace that runs an evening a week.
- After any chimney fire. A Level 2 inspection or better is mandatory, whether or not the fire was visible. Chimney fires can damage a liner in ways you can’t see from below.
- After a home purchase or a major renovation. You have no reliable history of what the chimney has been through, so a full inspection should happen before the first burn.
- After a change in fuel. Switching from a fireplace to a wood stove, or changing the wood you burn, means the deposit pattern in the flue changes. Check the flue after the first full season of the new setup.
The annual inspection itself is non-negotiable, even in a season where you barely burned. The reason is that a chimney can develop a crown crack or liner damage from weather alone, and a fire lit against that damage is a different level of risk than a fire lit against a clean, intact flue. One inspection a year is what keeps you ahead of that.
Documenting Condition Year Over Year
Slow deterioration is the hardest thing to catch with a single look. A mortar joint that opens a sixteenth of an inch per year looks fine each individual spring and problematic only in year five. That’s why the single most useful habit in this checklist is documentation – keeping a simple record of what the chimney looks like each year so you can see the trend.
What to document:
- Photos of the crown from the ground, ideally with a date stamp, taken at the same angle each year.
- Photos of the mortar joints on the chimney exterior, focused on any area that showed cracking previously.
- The sweep’s inspection notes – liner condition, creosote level, any noted deficiencies, and the date.
- Any repair receipts for work done, so you know what has been addressed and when.
- Photos of the firebox interior after cleaning, so you have a baseline for comparison.
- Any water intrusion observations – staining, efflorescence, or damp patches on the chimney breast inside the house.
The camera inspection report is the most valuable artifact in this file. A professional sweep that provides photos of the flue interior, the crown, and the firebox condition gives you a reference point you can compare against in future years. It also means a future diagnosis of “you need a liner” or “the crown has to be replaced” can be checked against what the chimney looked like last year. If a contractor tells you something serious is developing, the paperwork tells you whether the concern appeared this year or was already there and simply never acted on. That’s the difference between accepting a big repair quote and asking a fair question about it.
If you’re new to a home and don’t have a history, the first inspection is your baseline. Get the report, save the photos, and start the file. Even a single baseline year is worth more than none.
When Cleaning Turns Into Repair: What to Fix and What Can Wait
A chimney sweep and a chimney repair are two different jobs, and the line between them is one of the places homeowners get sold on work they don’t need. Here’s the honest hierarchy.
Fix now – safety issues:
- Liner cracks or gaps that expose the surrounding masonry to flue gases. This is a fire-containment issue and a carbon monoxide path.
- A firebox with deteriorated mortar or loose bricks. This is the fire itself burning out of its intended containment.
- A crown that’s cracked through or separated from the flue tile. Water getting into the masonry accelerates everything else.
- Glazed creosote in a significant amount on the liner wall. That’s a higher-temperature fire risk and needs professional removal.
Can schedule at a reasonable pace:
- Hairline mortar cracks with no moisture intrusion and no missing material. Monitor and photograph.
- Minor efflorescence that clears up after dry weather, with no staining that comes back.
- A damper that sticks but still operates. It’s annoying and inefficient, not urgent.
- A cap that’s missing or damaged. It should be replaced, but the timing is manageable, not an emergency, unless an animal has nested in the flue.
When a repair turns out to be needed, the materials matter. We work with the same product lines professional chimney contractors specify – DuraFlex for liner systems, Olympia Chimney and Famco for other components, Copperfield as needed – because a cheap liner from a hardware store is cheaper in a way that shows up in five to ten years. And on liner repair specifically, we offer HeatShield ceramic resurfacing as a middle option: it restores a compromised liner in place without the cost of a full reline, and it’s appropriate when the liner has the structural integrity to hold the resurfacing. We’ll tell you plainly whether resurfacing is honest or a full replacement is the right call. That’s a judgment from the camera image, not a sales pitch.
For a full picture of what our repair scope covers in St. George, our St. George service page walks through the chimney repair and dryer vent work side by side.
Common Mistakes to Avoid
- Treating creosote as the only concern. In St. George, mortar joint degradation and crown cracking are the earlier failure points. A checklist that never inspects the crown is missing the leading cause of masonry damage in this climate.
- Skipping the camera inspection to save time. A flashlight inspection from the firebox can’t see above the smoke shelf, and the liner cracks that matter live up there. A proper inspection uses a camera, and you should be shown the images.
- Burning unseasoned wood. Wet wood produces more smoke, more creosote, and more water vapor in the flue. Seasoned wood is the cheapest maintenance decision you can make.
- Ignoring the dryer vent. A chimney maintenance checklist that stops at the fireplace leaves the other fire-hazard venting system in the house completely unaddressed. Dryer vent cleaning belongs on the same calendar.
- Climbing the roof to inspect the crown yourself. Steep roof work is dangerous and a fall from the roof of a St. George home is an injury that changes everything. Let the professional climb; ask for photos.
- Hiring a sweep who won’t put anything in writing. A legitimate inspection provides a written report and images. If the visit ends with a verbal deficiency list and a verbal repair quote, ask for it in writing before making any decision.
- Waiting until the first cold week to book. The pre-season window is late summer and early fall, before the first fire. By the time the first cold morning arrives, the schedule fills and the temptation to skip the inspection is at its highest.
See the difference
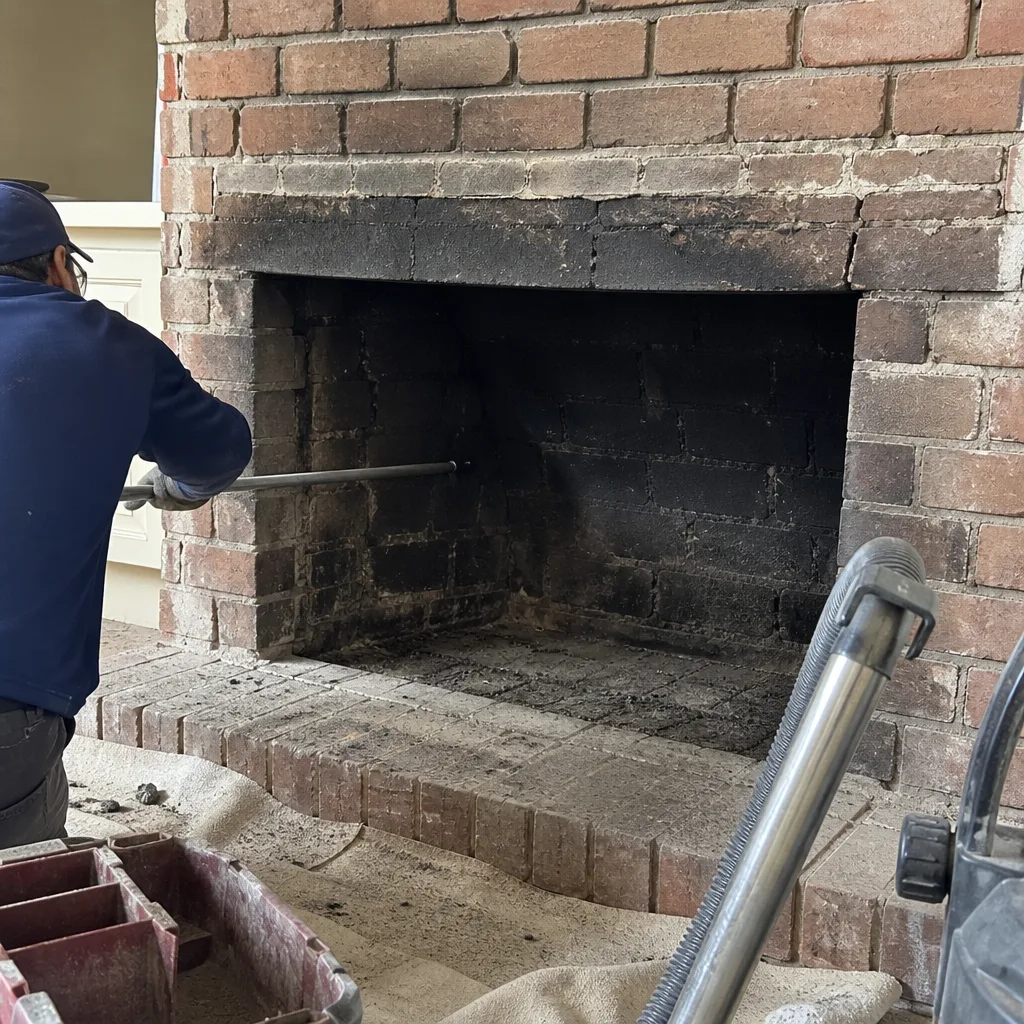 Before
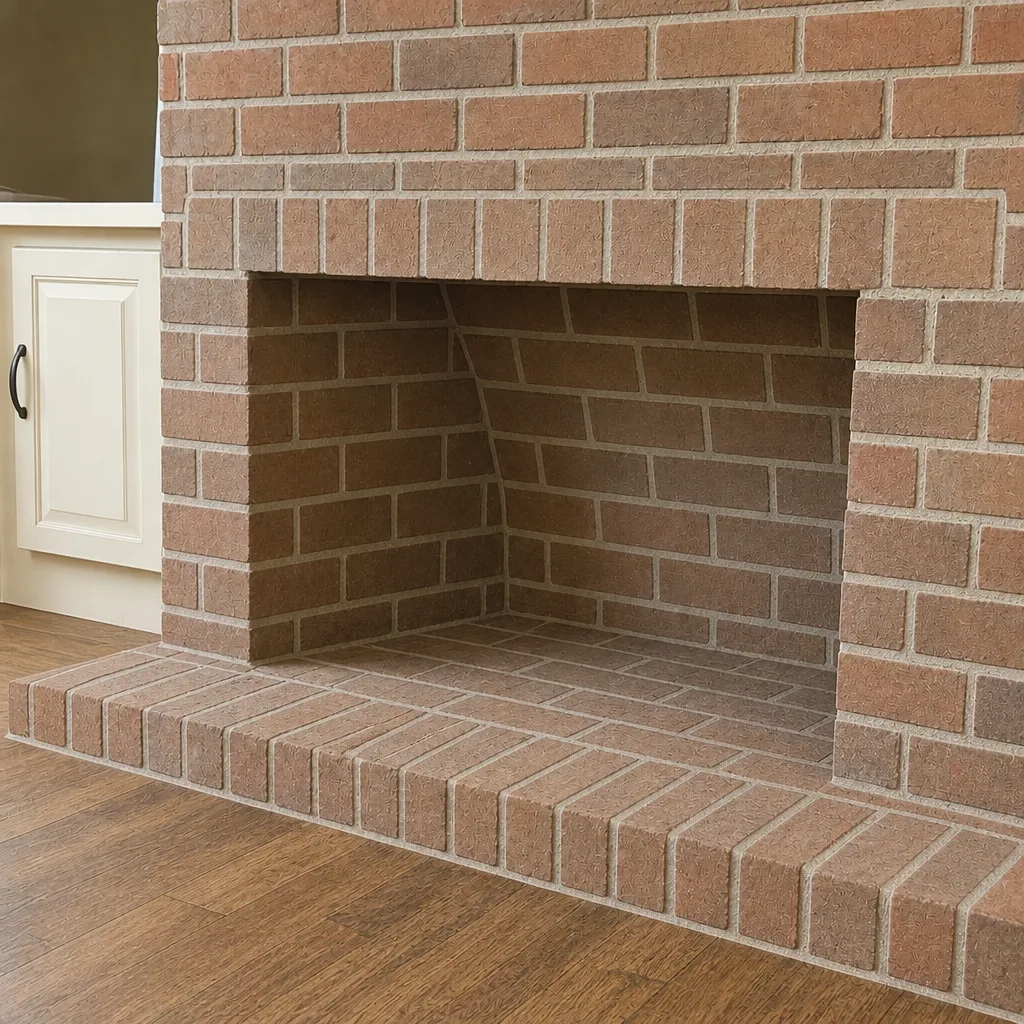 After
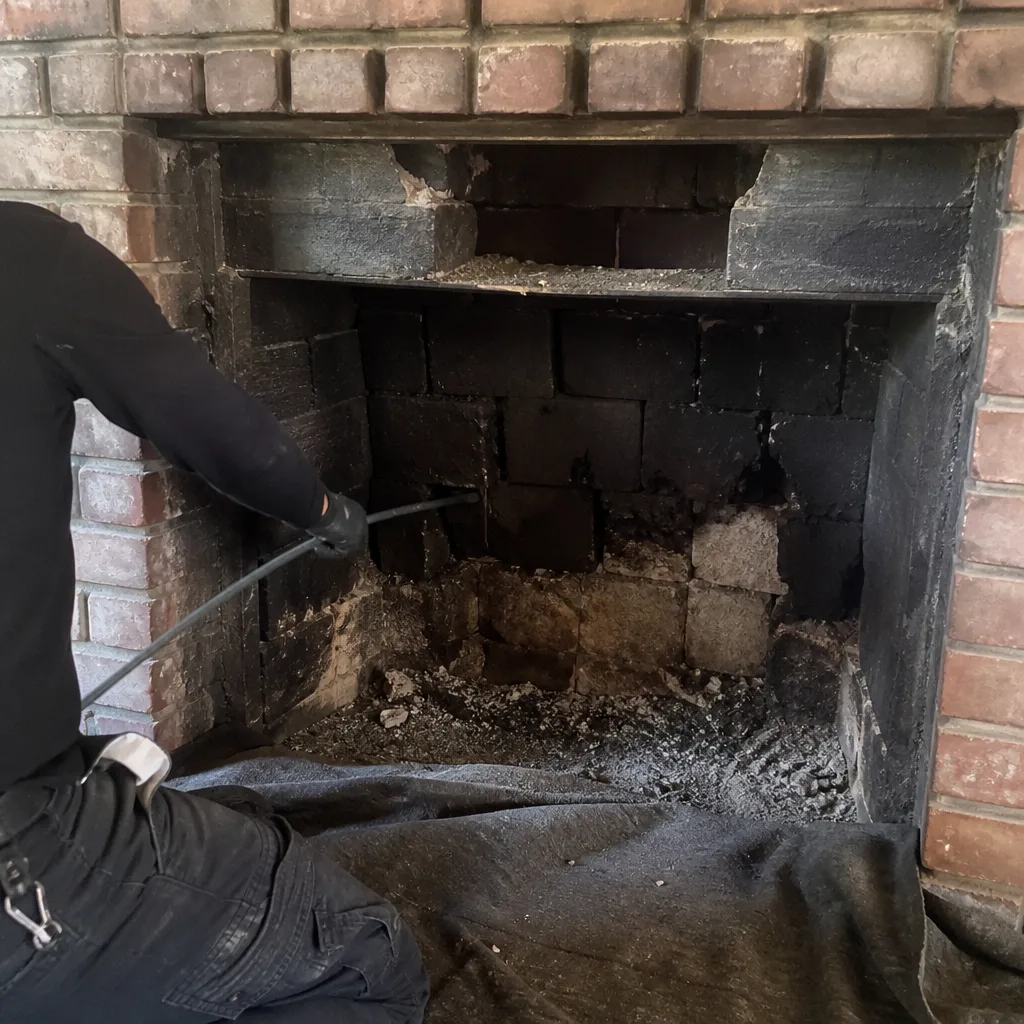 Before
 After
 Before
 After
When to Call a Professional
Call a professional for the annual sweep and inspection, full stop – it’s the one maintenance item on this list that should never be skipped. Beyond the routine, call for any of these: smoke that rolls into the room instead of up the flue; a strong smoky odor when no fire is burning; visible cracks in the firebox mortar or loose firebrick; a chimney fire, even one you only suspect; water staining or efflorescence on the exterior; a crown you can see is cracked; or a dryer that takes longer than it used to finish a load. Any of those is a sign the chimney or vent needs a professional look, not a homeowner’s guess. Glacier Chimney Sweep offers free estimates in St. George – call (877) 327-1971. We answer 24/7, with fast dispatch from 7am to 7pm, Sunday through Friday.
Frequently Asked Questions
A standard chimney sweep plus a Level 2 camera inspection in St. George typically falls in the low to mid-hundreds of dollars, and repair work is priced separately by written estimate once the inspection is done. You’ll get the estimate in writing before anything is scheduled, so the final price is set by the estimate and not by the phone call. Call (877) 327-1971 for an exact quote – estimates are free.
Most St. George homes do well with an annual inspection and a sweep once creosote reaches roughly an eighth of an inch on the flue wall. A home that burns hard all winter – a wood stove or a fireplace used as a heat source – may need a mid-season inspection in addition. If you’re not sure which category you fall into, have a sweep look at the flue once and tell you the honest cadence based on what’s actually on the liner. Call (877) 327-1971 to book it – estimates are free.
Not always. A new liner is required when the liner itself is cracked, broken, or missing in a way that exposes the surrounding masonry or the interior of the house to flue gases. In other cases, HeatShield ceramic resurfacing can restore a compromised liner in place without a full reline, and it’s the more economical route when conditions allow. The right answer is a judgment call from the camera image, and any honest professional should show you that image. Call (877) 327-1971 for an inspection – estimates are free.
The specific risk depends on what’s building up inside your flue. A creosote layer thick enough to ignite can cause a chimney fire, which can crack a liner or spread beyond it. A cracked crown lets water into the masonry, which over years causes spalling brick and eventually structural repair. A blocked flue can push carbon monoxide back into the living space. None of those are guaranteed by skipping a sweep, but all of them are far cheaper to prevent than to fix. Call (877) 327-1971 for a sweep – estimates are free.
Yes – our dryer vent cleaning is a separate service but it can be scheduled alongside your chimney work. Both systems are fire-hazard venting in the same house, and addressing them in the same visit saves time. If you’re booking a chimney sweep for the fall, ask to add the dryer vent cleaning to the appointment. Call (877) 327-1971 – estimates are free.
Cleaning removes creosote from a sound chimney. Repair is needed when the inspection finds damage – liner cracks, deteriorated firebox mortar, a failed crown, or a missing cap. The way to know which one you need is the camera inspection, which is why it’s the first step rather than the last. Anybody quoting a repair should be able to show you the photograph that supports it, and you should feel free to ask. Call (877) 327-1971 to schedule the inspection – estimates are free.
The Bottom Line
St. George chimneys fail in a different order than the national checklist suggests. The crown and the mortar joints degrade first from thermal cycling and intense summer sun, and the liner and creosote come second. A good maintenance routine here is a pre-season professional sweep and camera inspection, monthly visual checks from the firebox through the burn season, a mid-summer look at the crown and mortar, and dryer vent cleaning folded into the same calendar. Document what you find each year, and the slow deterioration becomes visible before it becomes a large repair. If you want a professional to build the baseline for you, Glacier Chimney Sweep provides free estimates in St. George – call (877) 327-1971. We answer 24/7, with fast dispatch from 7am to 7pm, Sunday through Friday, and we’re closed Saturday.
Written by the team at Glacier Chimney Sweep.